How to Build a Backyard Office That Actually Works
Insulation, HVAC, power, internet, and sound — the five systems that separate a productive workspace from an expensive storage shed.
You can build a backyard office that looks great on Instagram but fails completely in real life — one that's a blast furnace in July, a freezer in January, drops your internet every hour, and funnels every neighborhood sound straight to your ears. I've seen it happen. It's a painful waste of money.
A backyard office that actually works requires deliberate decisions about five systems: insulation, HVAC, electrical power, internet connectivity, and sound control. Get these right and you have a space you'll use every single day. Get them wrong and you have an expensive storage shed.
This guide covers each system with specific recommendations that make the difference between a frustrating space and a genuinely productive one.
Insulation: The Foundation of a Usable Space
In Texas, insulation isn't optional — it's everything. Austin's summer heat index regularly exceeds 105°F, and a poorly insulated backyard structure can reach 130°F inside on a summer afternoon.
At that temperature, the space is completely unusable, and any HVAC system trying to fight that heat load will run constantly, wear out faster, and drive your electricity bill through the roof.
Target R-Values for a Backyard Office in Texas
| Location | Minimum R-Value | Recommended R-Value |
|---|---|---|
| Walls | R-13 | R-15 to R-21 |
| Ceiling / Roof | R-19 | R-30 to R-38 |
| Floor (if elevated) | R-5 | R-19 |
Spray Foam vs. Batt: The Real Difference
Spray foam is the premium choice. It seals all gaps and penetrations — where the majority of heat transfer actually occurs — provides a vapor barrier critical in Austin's humid climate, and adds meaningful structural rigidity to the walls.
- Open-cell spray foam: ~R-3.5–3.8 per inch. Roughly $1.50–$2.00 per board foot.
- Closed-cell spray foam: ~R-6–7 per inch. Roughly $3.00–$4.50 per board foot, but achieves much higher R-values in thinner applications.
Batt insulation (fiberglass or mineral wool) is a great alternative that fits most budget. If you go this route, you can choose Rockwool (mineral wool) over standard fiberglass. Fiberglass is perfect for most applications, while mineral wool is an upgrade if you want additional soundproofing.
Why Most Backyard Offices Fail
Air leaks account for roughly 80% of heat transfer in a structure. The insulation itself handles the other 20%. If you choose batt insulation, you must seal every electrical box, outlet, plumbing penetration, and wall cavity edge with acoustical caulk or expanding foam before drywall goes up. Skip this and the best insulation in the world won't save you.
HVAC: Why Mini-Splits Are the Standard
Mini-split heat pumps (ductless HVAC systems) are the near-universal choice for backyard offices. They heat and cool efficiently without ductwork, handle Texas's extreme temperature swings, can be controlled remotely via smartphone, and operate quietly enough for video calls.
Sizing Guide for a Texas-Climate Backyard Office
| Structure Size | Recommended BTU | Notes |
|---|---|---|
| 300–350 sq ft | 8,000 BTU | Efficient cooling for compact office/studio layouts |
| 350–400 sq ft | 9,000 BTU | Balanced for moderate daily use |
| 400–450 sq ft | 10,000 BTU | Ideal for larger backyard office configurations |
Always size up, never down.
A mini-split running at 90% capacity all day wears out faster and struggles with humidity control. A properly sized unit that cycles correctly will last longer and stay more comfortable. Professional installation typically runs $1,500–$4,000.
Electrical Power: Running a Subpanel
Running power to a detached structure is a permitted electrical project in Austin. From your main panel, a new circuit runs underground to the backyard structure. You have two approaches:
Option 1 — Subpanel
Run one 60-amp (or larger) 240V feeder from the main panel to a small subpanel inside the pod. The subpanel then distributes power to individual circuits inside. This is the right approach for a fully equipped office.
Option 2 — Direct Circuits
Run individual circuits directly from the main panel without a subpanel. Simpler and cheaper upfront, but less flexible for future additions.
Minimum Recommended Circuits
- One 20-amp circuit for general receptacles (electronics, monitors, lighting)
- One dedicated 20-amp circuit for the mini-split (required by code)
- One 20-amp circuit for a kitchenette or second major appliance
- One dedicated circuit for an outdoor GFCI on the deck
| Wiring Method | Minimum Burial Depth |
|---|---|
| Rigid metal conduit (RMC) | 12 inches |
| PVC conduit with THWN wire | 18 inches |
| Direct-buried UF-B cable | 24 inches |
Conduit — PVC or rigid metal — is preferable to direct-buried UF-B. It lets you upgrade wire later without re-trenching. The trench is the expensive part.
Typical total cost for a 60–100 foot underground run with permit: $2,000–$5,000.
Internet: Your Four Options, Ranked
Reliable, fast internet is one of the most underplanned elements of a backyard office. I've talked to homeowners who spent $40,000 on a beautifully finished space and then ran on spotty Wi-Fi because they didn't think about connectivity until move-in day. Don't be that person.
1. Buried Ethernet — Best
Run CAT6 ethernet through a conduit underground from your house router to the pod. Cost: $300–$1,500. Performance: full gigabit, zero latency, completely reliable.
2. Dedicated Outdoor Access Point — Great
Mount a Wi-Fi 6 or 6E access point on the exterior of your house, aimed at the pod (Eero, Ubiquiti UniFi). Cost: $150–$400. Near-wired quality within ~75 ft with no major obstructions.
3. Powerline Adapters — Acceptable
Uses your home's electrical wiring to transmit signal. Cost: $50–$150. Variable performance — not reliable for video calls or large file transfers. Last resort only.
4. Starlink or LTE/5G Hotspot — Niche
If trenching isn't possible and Wi-Fi won't reach. Starlink: ~$120/month with excellent download speeds. Equipment cost $200–$500 plus monthly service.
If you're already trenching, pull an extra conduit.
Running ethernet through a pre-placed conduit costs almost nothing. Digging it up again later costs $500–$1,500. This single decision is one of the highest-leverage moves you can make.
Soundproofing: Building a Quiet Workspace
A detached structure has a natural advantage — no shared walls with the rest of the house. But neighborhood noise (lawnmowers, traffic, dogs) and internal noise (HVAC, fans) can still disrupt calls and concentration.
The most impactful upgrades, in order of effectiveness:
- Solid-core door. The single biggest upgrade. Reduces sound transmission by 10–15 dB versus the hollow-core default. Immediately noticeable.
- Acoustic mineral wool batt insulation. Rockwool outperforms fiberglass at the same thickness for sound attenuation.
- Mass-loaded vinyl (MLV). Dense, flexible material installed behind drywall on walls facing the primary noise source.
- Double-pane windows. Standard low-E double-pane dramatically outperforms single-pane. Look for high STC ratings in noisy locations.
- Acoustic caulk at all penetrations. Sound travels through tiny gaps more efficiently than through walls. Costs almost nothing.
- Mini-split on low speed during calls. Position the indoor unit away from your primary work area to minimize airflow noise on camera.
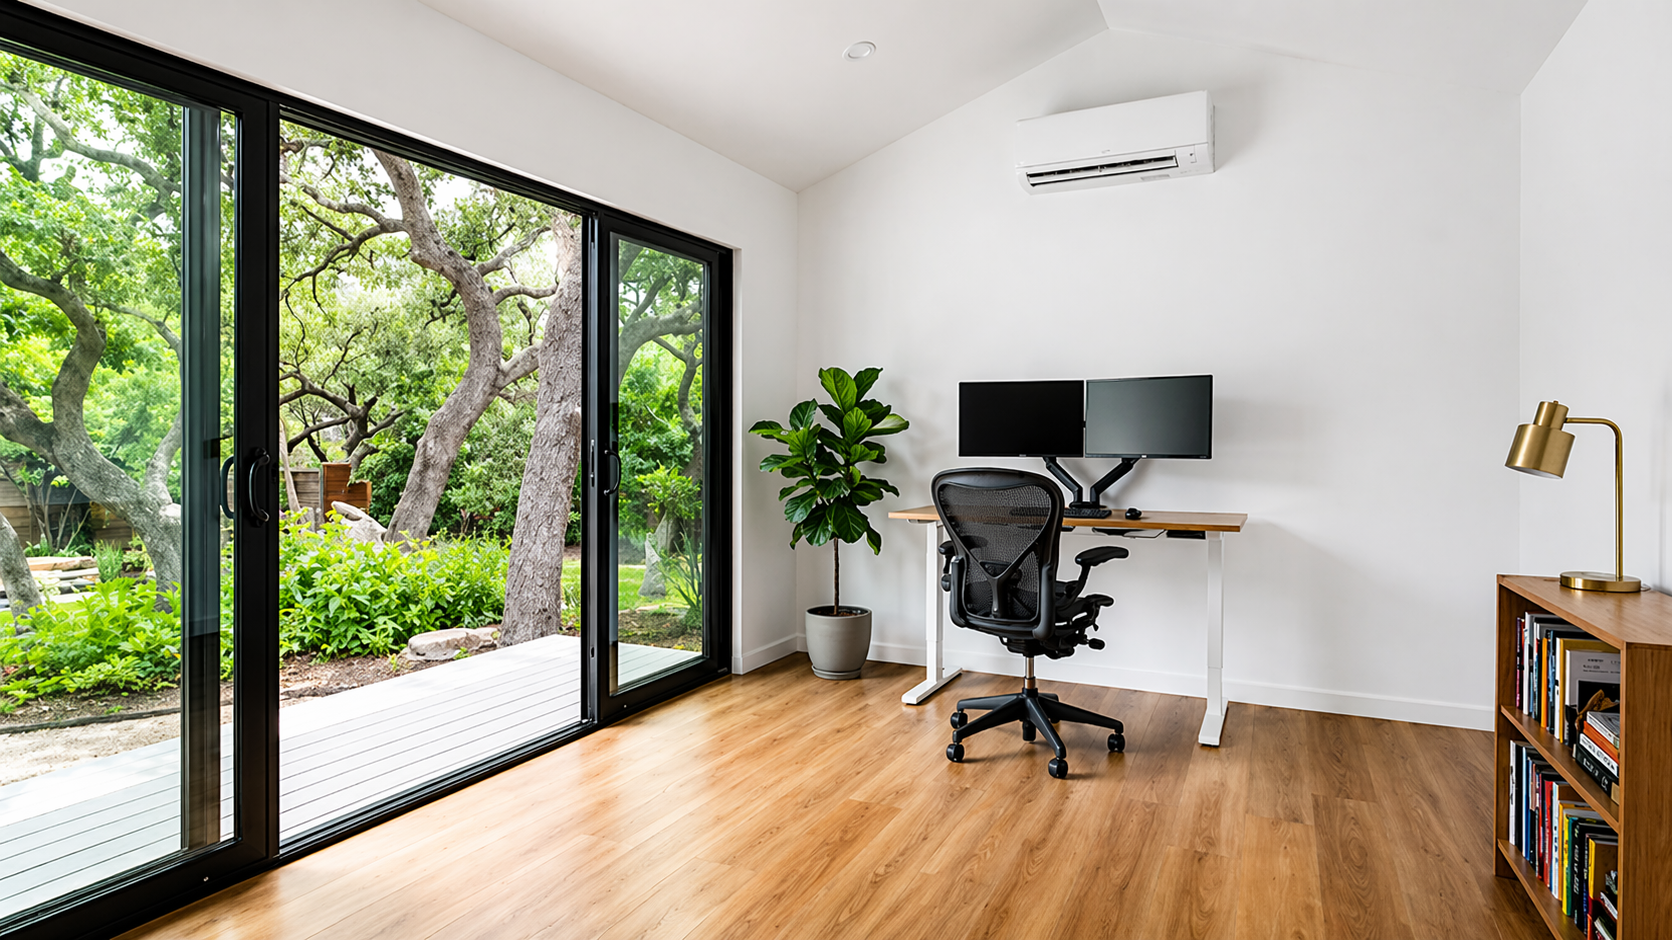
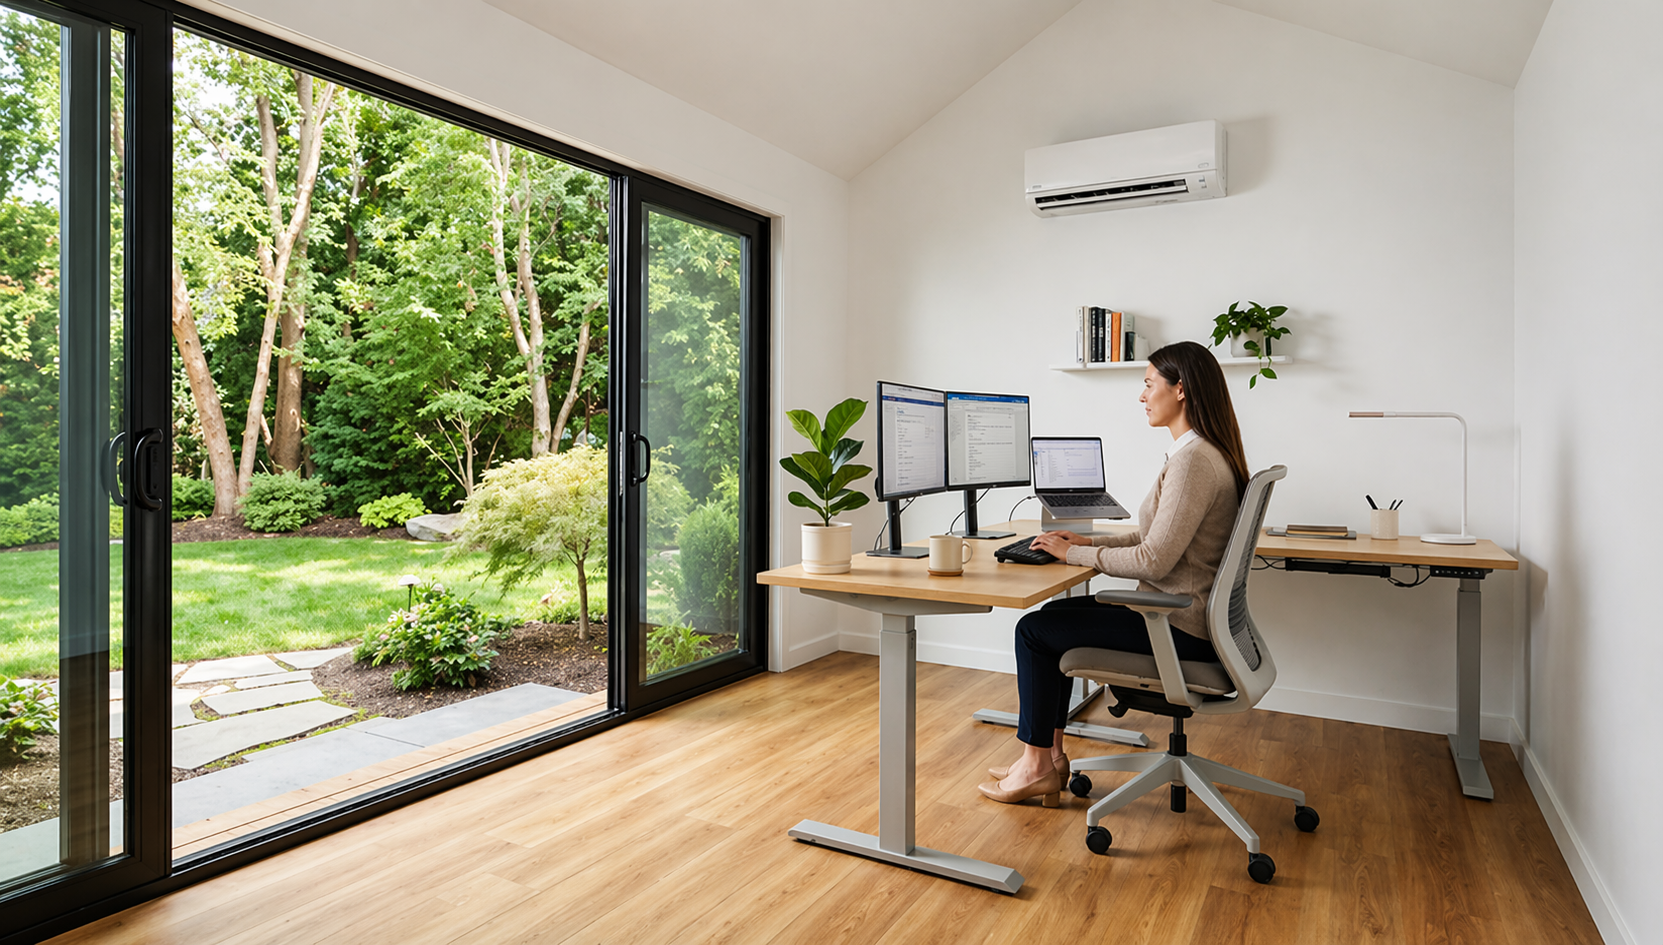
Flooring, Lighting & Layout: The Details
Flooring
Vinyl plank (LVP) is the practical choice in Texas. It handles humidity swings far better than solid hardwood, installs easily, and comes in convincing wood-look finishes. Engineered hardwood is a step up if budget allows.
Avoid solid hardwood and carpet in a detached structure — both handle the Texas humidity cycle poorly.
Lighting
Plan for 40–50 foot-candles for focused desk work. LED panels or track lighting both work well. Include dimmers — being able to drop intensity during video calls (to control on-camera background appearance) is an underrated feature. Warm-to-cool tunable LEDs let you shift color temperature through the day.
Outlet Placement
Plan outlet locations before the electrician runs wiring. Outlets every 6 ft around the perimeter is a good baseline. Include at least one outlet directly behind the desk for clean cable management — small detail, big quality-of-life difference.
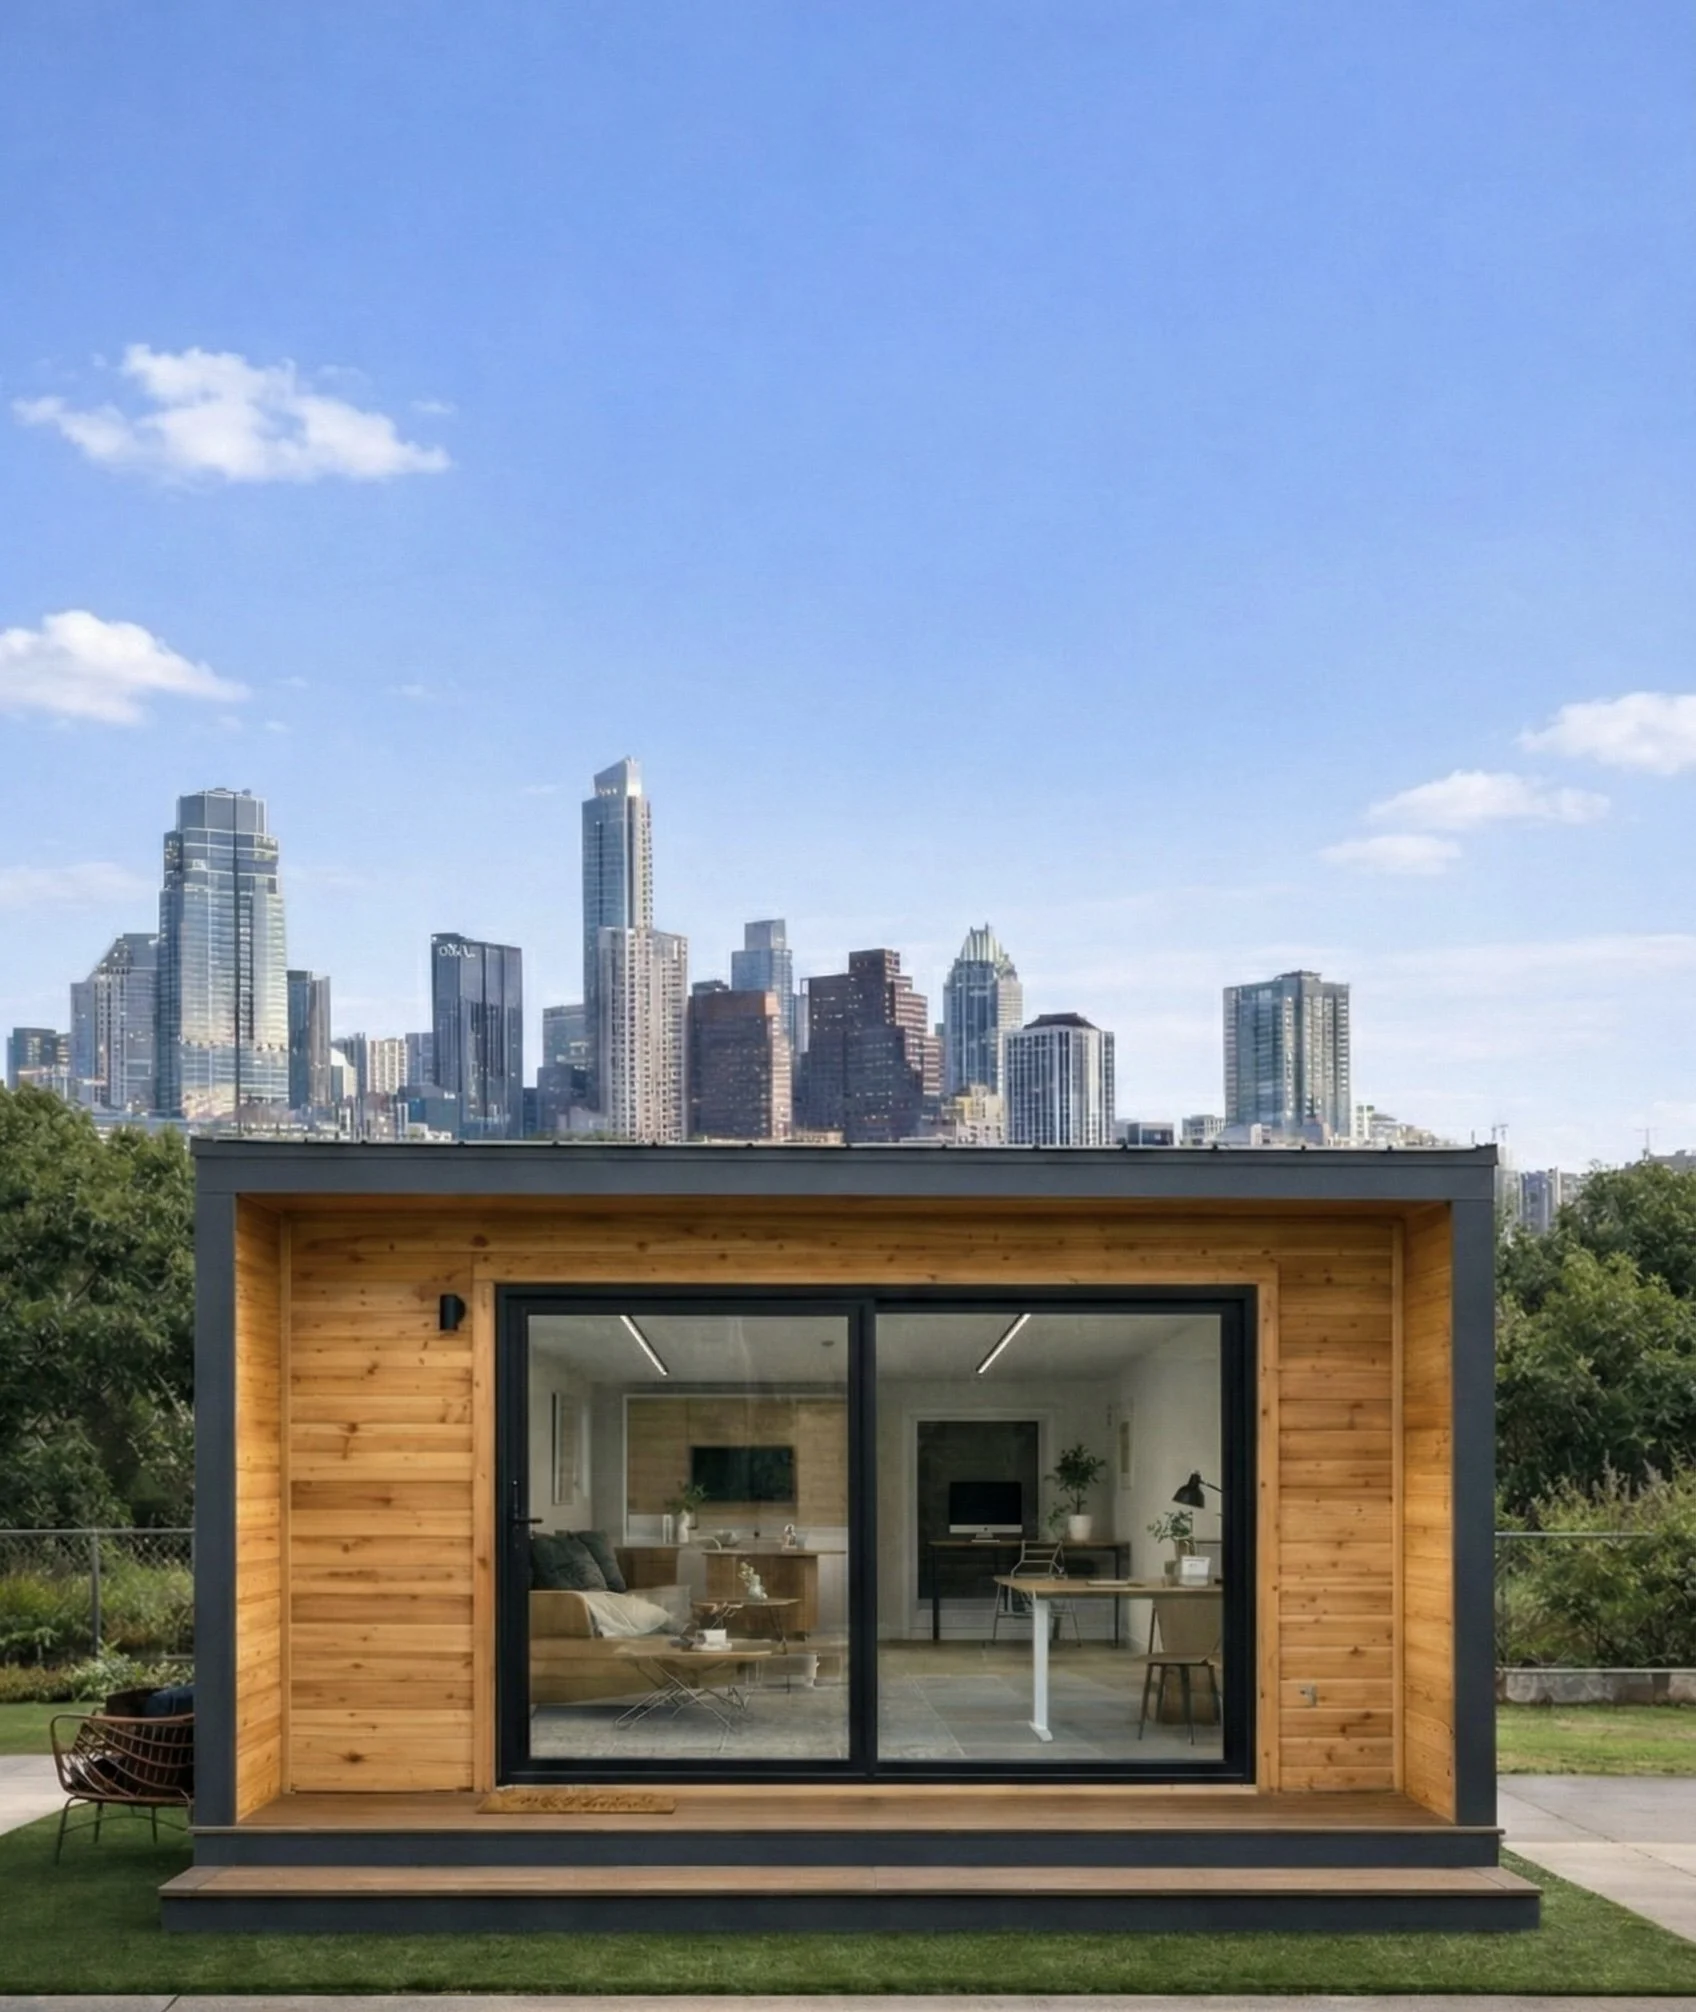
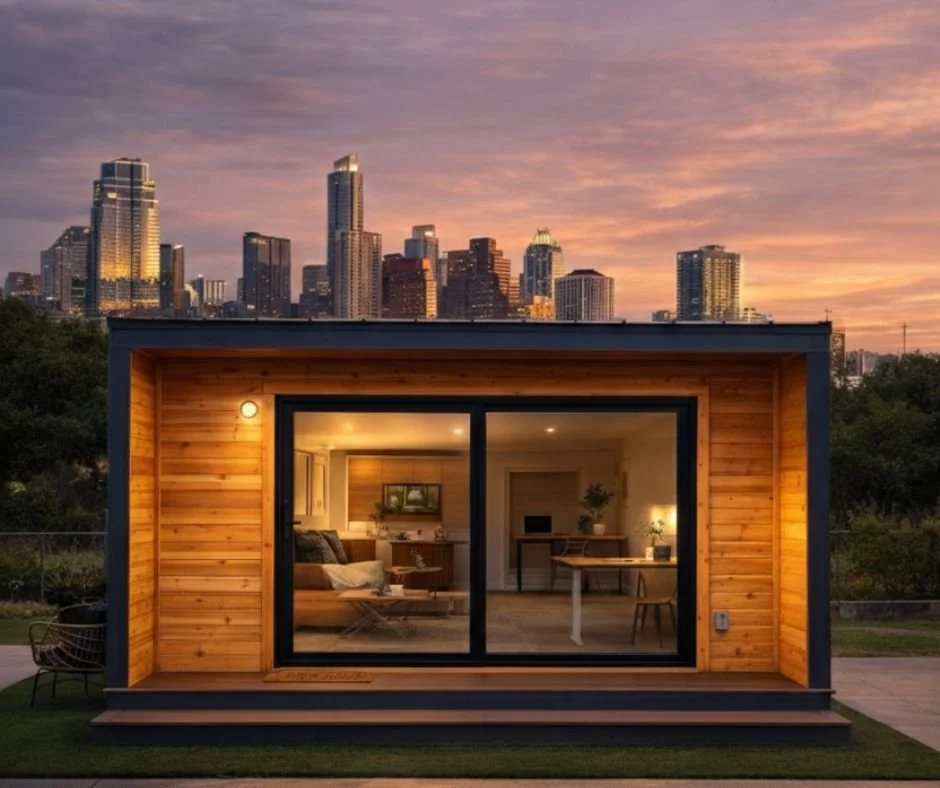
How Backyard Pod Handles This for You
Every Backyard Pod is delivered with these five systems integrated into the design. Our pods include:
- A properly sized mini-split HVAC (included in all-inclusive pricing)
- Insulated panels engineered for Texas climate performance
- Sliding glass doors with double-pane glass
- Electrical connection handled through our $1,000 permit process
You don't need to spec a mini-split, vet an insulation contractor, or research burial depths. We've done the engineering work already. What you get is a space that works the day you walk in — quiet, comfortable, temperature-controlled, and internet-ready.
The Bottom Line
A great backyard office isn't about looks — it's about function. Insulation keeps climate-control costs manageable. A properly sized mini-split handles Texas summers and winters without drama. A dedicated electrical circuit and buried ethernet give you the infrastructure for real work. Acoustic upgrades make the space quiet enough for calls.
Get these five systems right, and you've built something you'll actually use every day.
Your home doesn't need more space. It needs better space.
A Backyard Pod gives you the dedicated, climate-controlled, quiet workspace your home was never designed to provide — installed in 4–8 weeks, from $35,990.